You don’t need an airbrush kit or ten years of contouring practice to pull off a good Halloween look. Some of the most striking faces on Pinterest every October come from a single eyeliner pencil, a spoolie, and an object that isn’t makeup at all.
This list skips the multi-step face-paint tutorials that assume steady hands and an hour to kill. Every look here uses two or three products max, most of which are already sitting in a makeup bag, and a technique that’s genuinely forgiving if a line goes crooked.
Twenty-nine ideas, sorted by how they’re built — some rely on a single tool, some borrow a household object, some are the classics done the easy way. Pick whichever matches the time and nerve you actually have on the day.
One-Tool Wonders
These four use one core product — an eyeliner pencil — for the whole look. No shopping trip required if there’s already a black liner in the drawer.
1. Bat Wing Eyeliner Flick
Draw a standard cat-eye wing first, extending it up and out from the outer corner. Instead of stopping there, add two curved points off the top edge and one off the bottom, so the wing reads as a small folded wing instead of a straight line.
The shape hides a shaky hand better than a plain wing does — a wobble just becomes another point of the wing instead of an obvious mistake. It’s one line, redrawn a few times if needed, with nothing else on the eye.
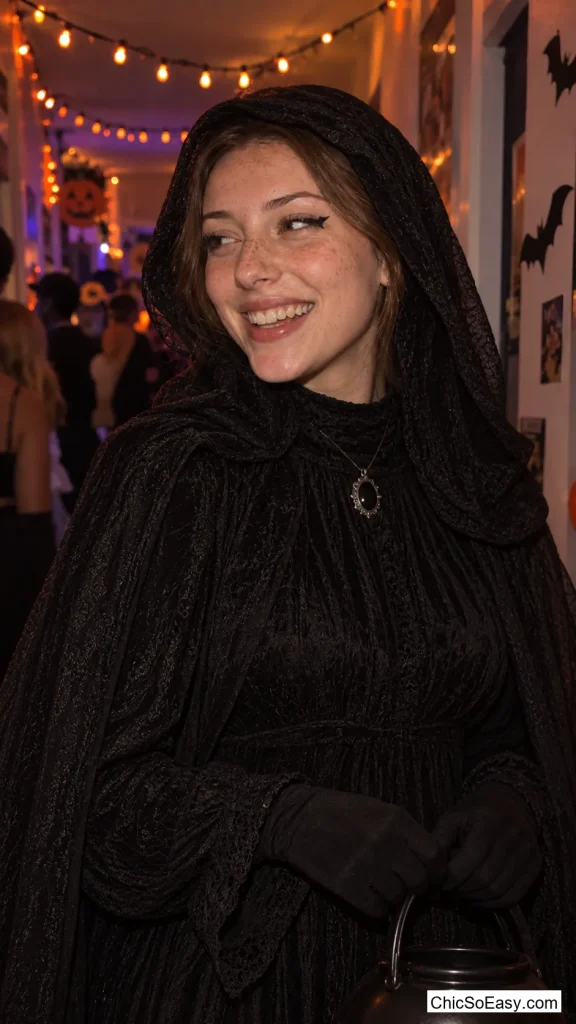
2. Melting Wax-Drip Eyeliner
Line the lower lash line as usual, then pull three or four short drips straight down from it with the same pencil, tapering each one to a point like melted candle wax. A cotton swab softens the top of each drip into the skin so it doesn’t look like a ruler drew it.
It reads as unsettling without needing fake blood or latex, and it photographs well because the drips catch shadow instead of sitting flat on the skin.
Keep the drips uneven in length — three long and two short looks more like actual dripping wax than five identical lines.
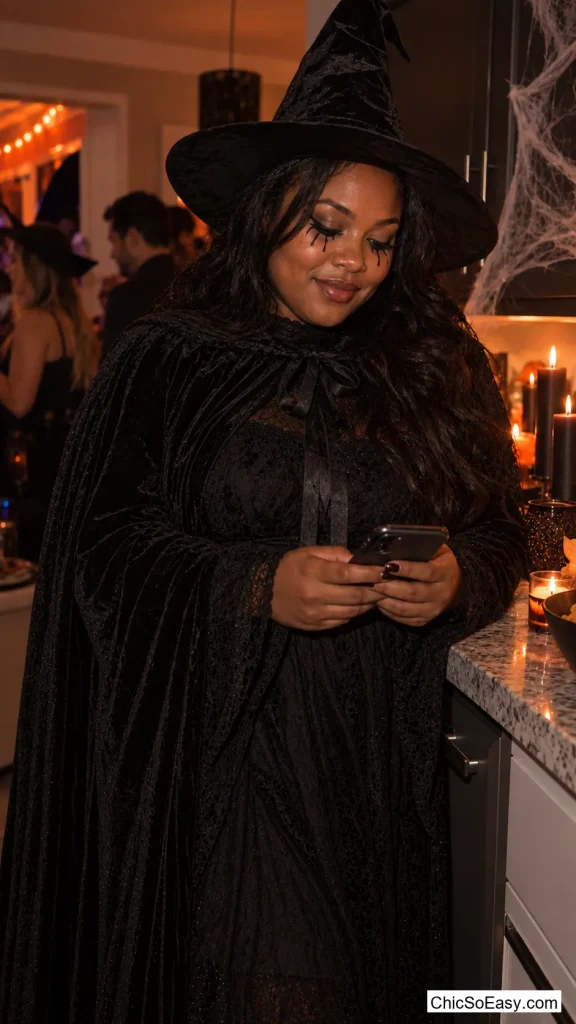
3. Spiderweb Liner at the Temple
Starting at the outer corner of the eye, draw a few straight lines fanning outward toward the temple, then connect them with short curved strokes between each line, working outward like rings on a web.
It only needs to cover about two inches of skin to read clearly, so a mistake is small and easy to wipe away with a cotton swab rather than restarting the whole face.
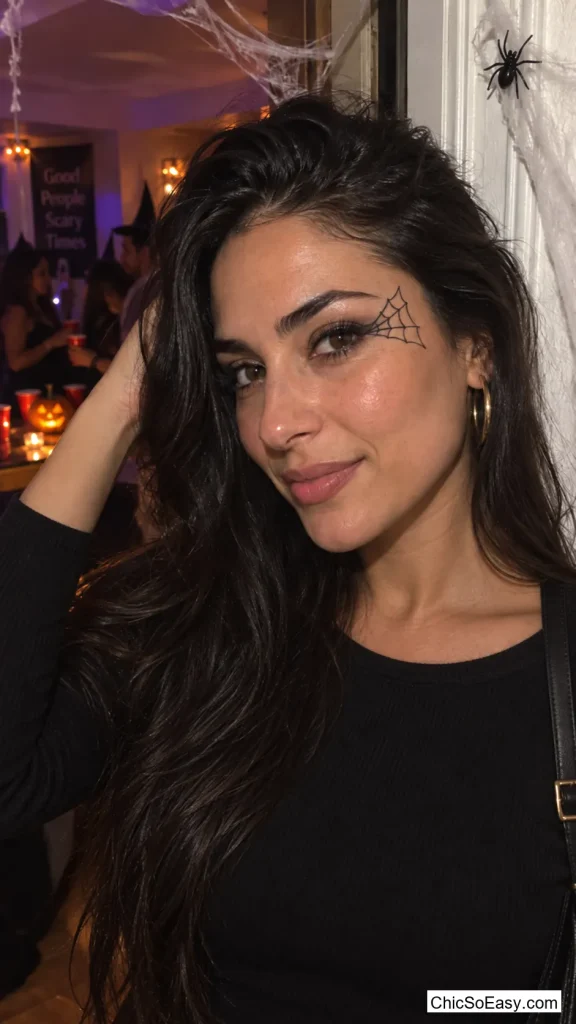
4. A Smudged Bruise Around One Eye
Using a taupe or plum cream shadow, pat color around just one eye — under the lash line, into the crease, and slightly onto the browbone — leaving the other eye completely bare.
The asymmetry is what sells it as an injury rather than eyeshadow, and smudging the edges with a finger instead of a brush gives it the slightly uneven, fingerprint-soft look real bruising has instead of a clean blended gradient.
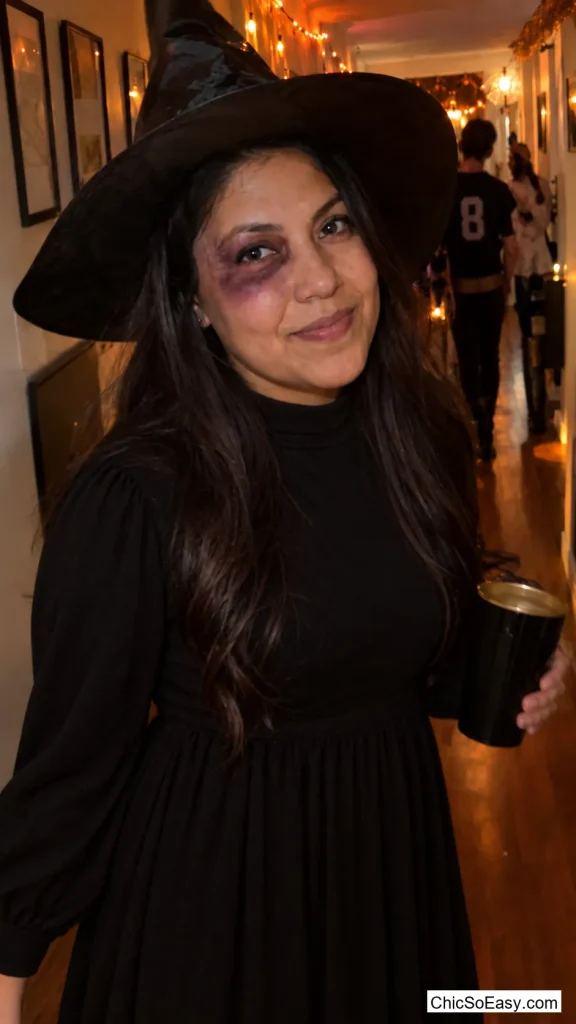
Small Details, Big Impact
Sometimes one tiny addition does more work than an entire face of makeup. These three take under five minutes each.
5. One Fang at the Lip Corner
Skip the plastic fangs. With a dark lip liner, draw a single small triangle pointing down from one corner of the mouth, right where a fang would rest against the lower lip, and fill it in.
One fang reads as more unsettling than two matched ones because it looks accidental — like it’s actually poking through, not part of a costume. It also survives eating and talking, which plastic fangs never do.

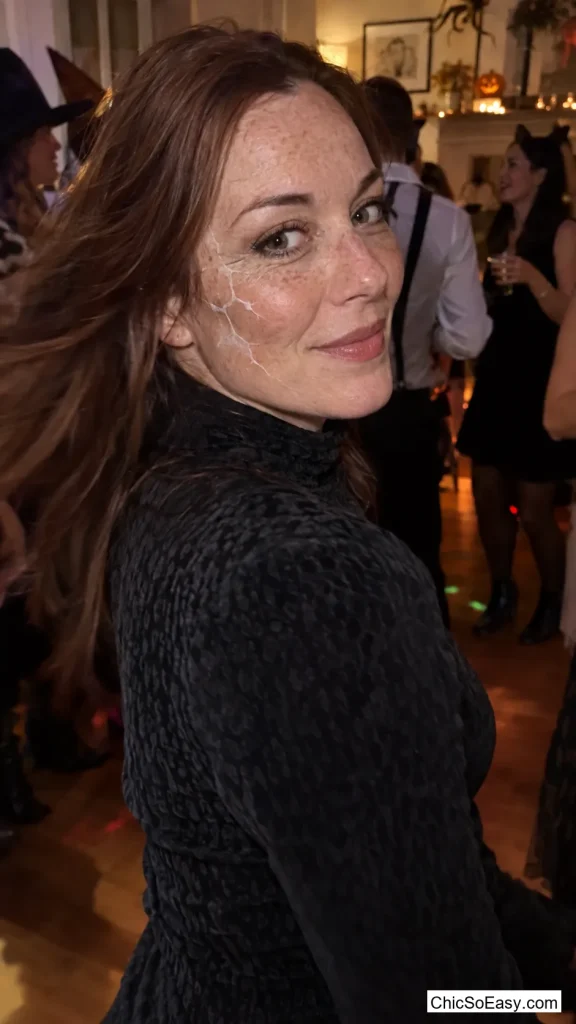
6. A Hairline Crack on the Cheekbone
With white eyeshadow or a white eyeliner pencil, draw one thin, slightly jagged line across the cheekbone, like a crack in porcelain. Add a second, shorter branch off the first line partway along.
It works because it’s the only thing on the face — no doll blush, no doll lashes, just one crack on otherwise normal skin, which makes it look like the skin itself is the porcelain.
Go over the line with a translucent setting powder afterward; it dulls the white just enough that it looks embedded rather than drawn on top.
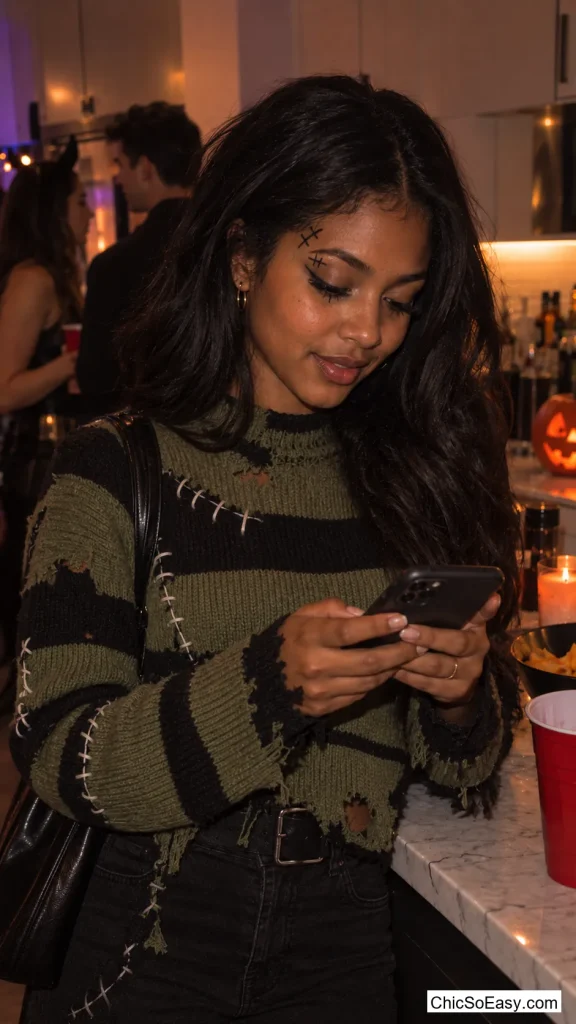
7. Two Thin Stitches Above the Brow
Using a brow pencil, draw two short parallel lines close together above one eyebrow, then cross them with three or four tiny diagonal marks between the two lines to mimic actual stitching.
It’s small enough to do while looking in a phone camera instead of a full mirror, and it reads clearly in photos without needing a matching costume — it works over a plain outfit just as well as a themed one.
The Beginner-Friendly Classics
Some looks are popular every October for a reason — they’re genuinely simple. These four are the ones worth keeping in the beginner rotation.
8. Pale Vampire With a Red Lip
Set a foundation or powder one to two shades lighter than the natural skin tone, skip contour and blush entirely, and finish with a single coat of a deep red or blood-red lipstick.
The whole look lives in the contrast between the pale skin and the one bold color, so there’s no shading or blending technique to get wrong — the lighter base does the work by itself.
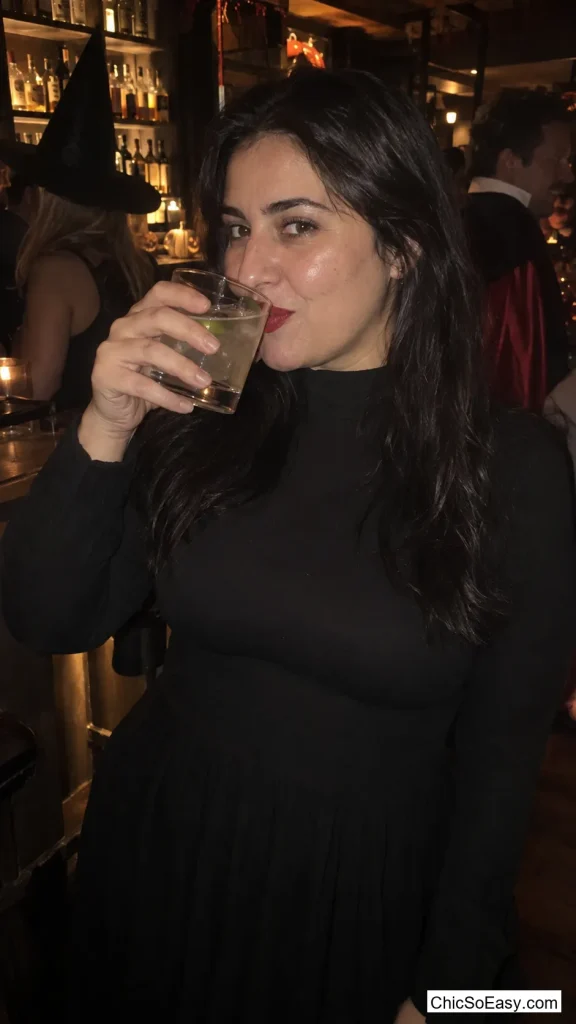
9. Green-Tinted Witch Contour
Mix a small amount of green cream eyeshadow into a regular foundation and apply it just along the hollows of the cheeks and under the jaw, the way contour normally goes, rather than across the whole face.
Keeping the green to the contour zones instead of the entire face avoids the flat, painted look a full green face gives a first attempt, and it blends with normal foundation brushes instead of specialty face paint.
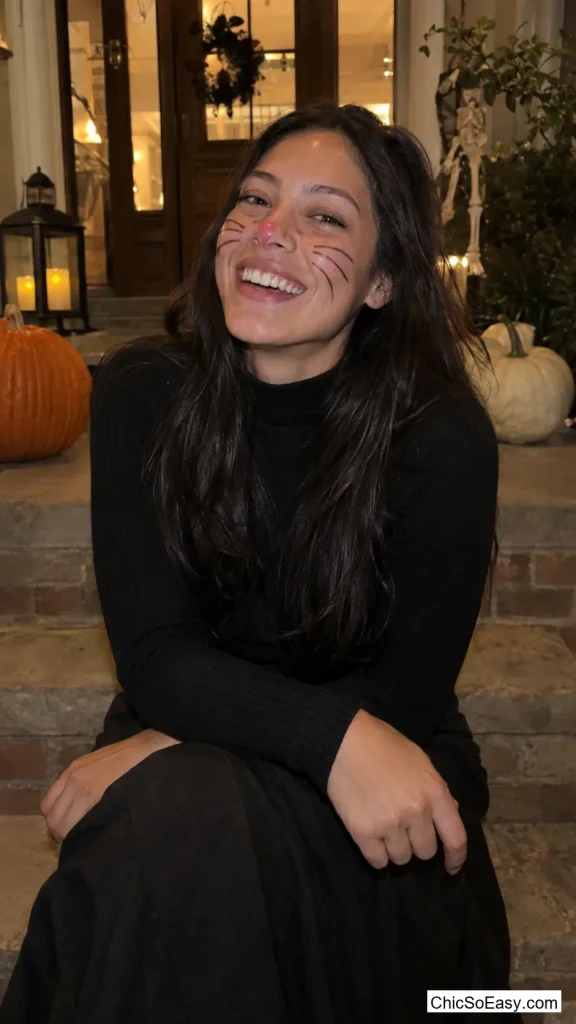
10. Cat Whiskers and a Pink Nose
With a black eyeliner pencil, draw three short lines fanning out from each side of the nose for whiskers, then color the tip of the nose in with pink or red cream shadow, blended slightly at the edges.
It pairs with literally any dark outfit already in the closet, and the whiskers can be redrawn in under a minute if the first attempt comes out uneven.
11. Hollowed-Out Ghost Eyes
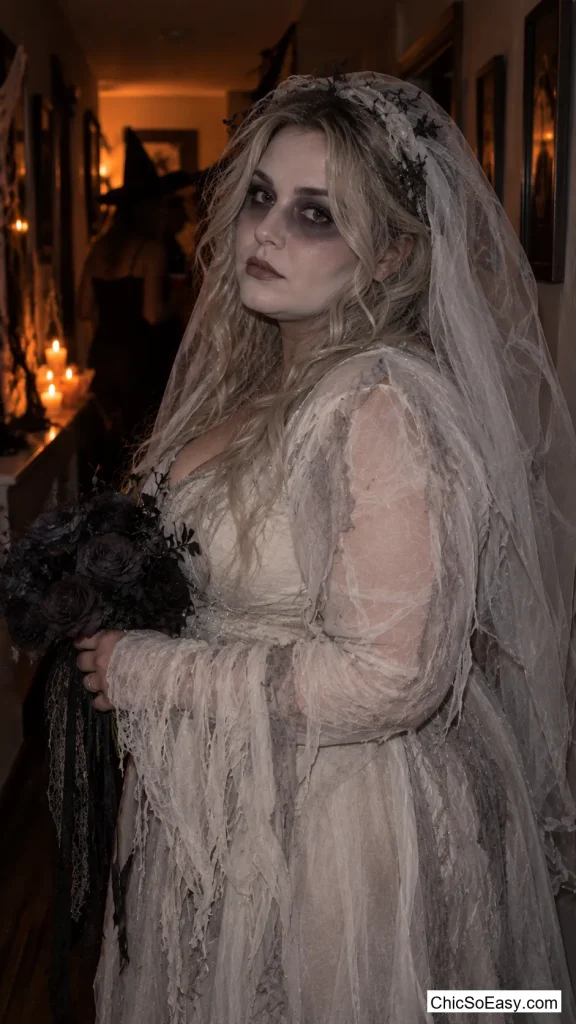
Apply a pale or white-toned foundation across the whole face, then use a dark gray or brown eyeshadow to shade directly into the eye sockets — the inner corners, the crease, and just under the brow bone.
Shading the socket rather than the lid is what creates the hollow, sunken look; a normal smoky eye on the lid alone won’t read as ghostly from a few feet away.
Blend the edges with a clean fluffy brush so the shading fades into the pale base rather than stopping in a hard line — a soft edge is what makes it look sunken instead of just dark-lidded.
Color Without Face Paint
These lean on eyeshadow palettes already sitting in a makeup bag instead of specialty face paint, so there’s no separate purchase involved.
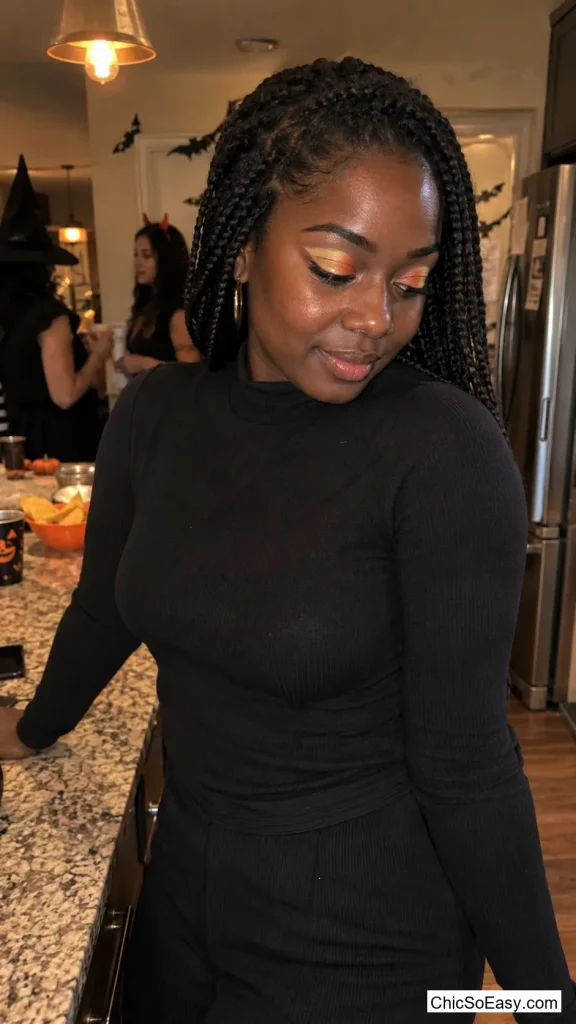
12. Candy Corn Eyeshadow Stripe
Working from the lash line up, apply yellow shadow closest to the eye, orange in the crease, and white just under the brow, keeping each color in its own clean horizontal band rather than blending them together.
The stripes only need to be roughly straight, not perfect — the color blocking itself is what reads as candy corn, and any softness at the edges just looks intentional.
13. Gold Dot Galaxy Lid
Rather than a full blended galaxy eye in purples and blues, apply one deep navy shadow across the lid and dot fine gold liner or a gold pigment pen across it in a scattered, uneven pattern, like stars.
It takes a fraction of the blending a full galaxy look needs, since the navy base can go on with a flat brush in one pass and the dots don’t need to line up with anything.
Vary the dot sizes — a few slightly bigger ones among the small ones reads as a night sky, where uniform dots read as polka dots instead.
14. Orange-to-Black Ombré Eyeshadow
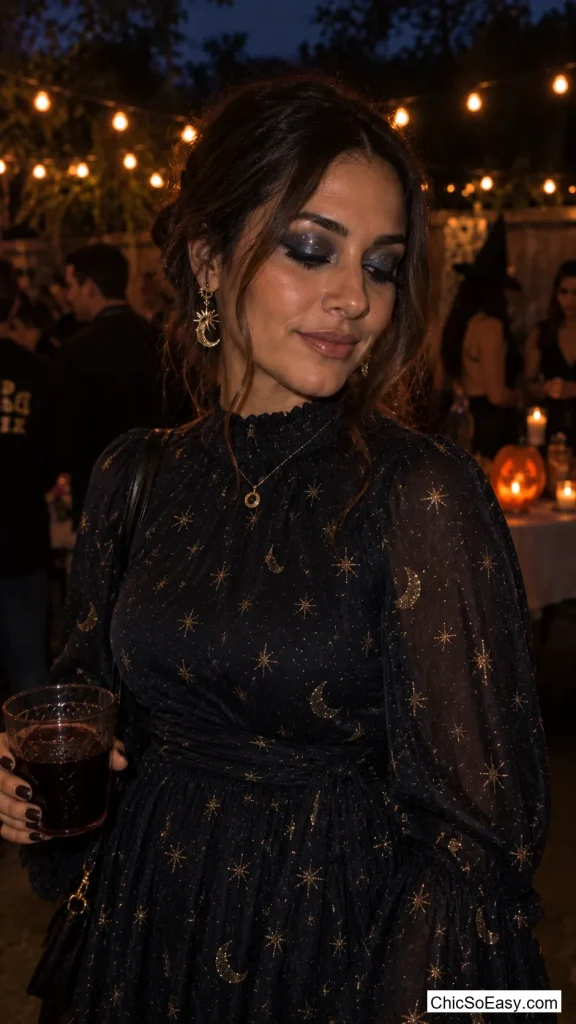
Pat orange shadow across the lid, black into the outer corner and crease, and blend only where the two colors meet in the middle, using a clean brush in a light circular motion.
It’s more forgiving than it looks because the transition zone is small — most of the lid stays a solid color, and only that narrow middle strip needs actual blending skill.
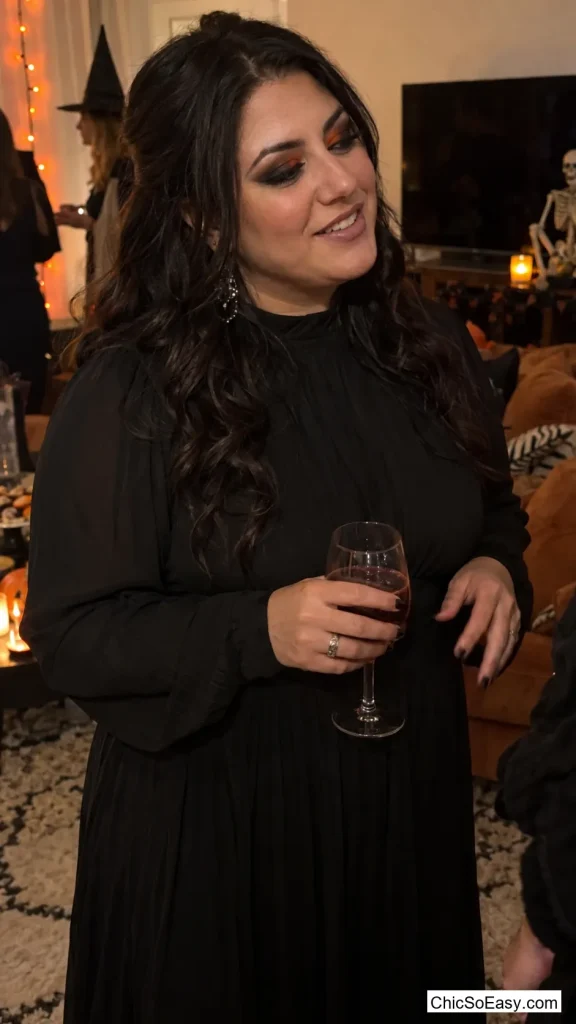
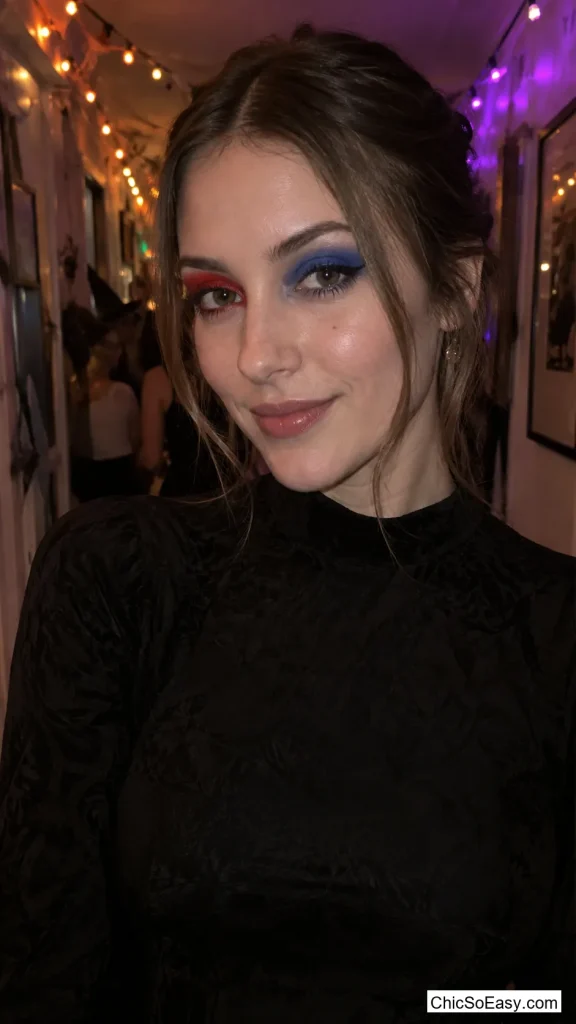
15. Two-Tone Eyeshadow Split
Pick two contrasting shades — blue and red, or purple and green — and apply one solid color to the entire eye on one side of the face, then the other solid color on the other eye, with no blending between them.
Because each eye is just one flat color, there’s no gradient to get wrong; the only skill involved is staying inside the lid on each side, which is far easier than blending two colors into each other.
Household Object Tricks
None of these four use a specialty makeup tool — just something already sitting in a kitchen drawer or craft box, put to a different job for one night.
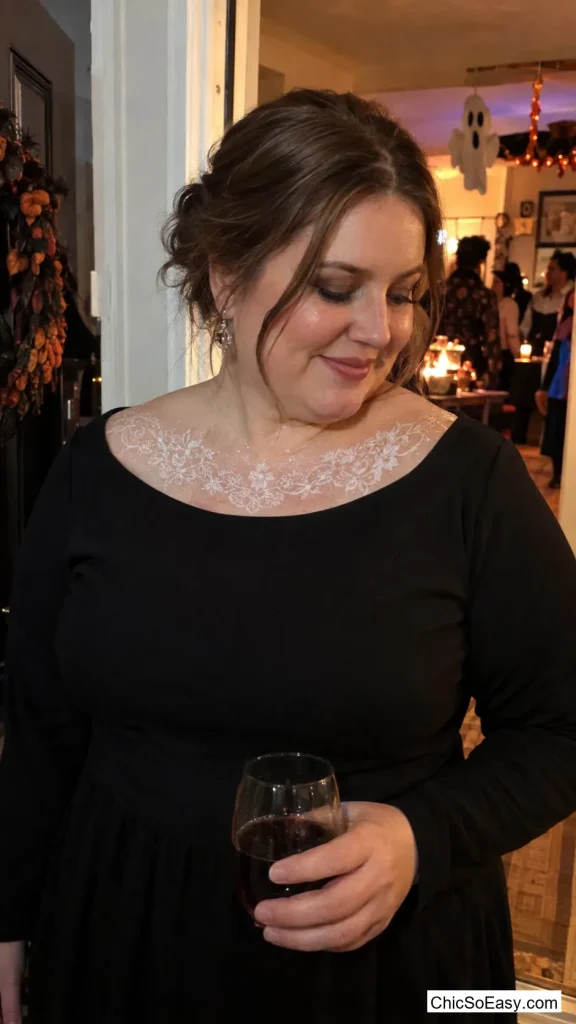
16. Lace Doily Collarbone Print
Lay a paper doily flat against the collarbone or shoulder, dab a translucent white or shimmer cream shadow over it with a makeup sponge, and lift it straight up and off.
The doily leaves behind a crisp lace pattern with none of the actual drawing a hand-painted lace design would take, so the detail comes from the object rather than a steady hand.
Press, don’t rub, when applying the color — dragging the sponge pulls the doily out of place and blurs the pattern before it transfers.
17. A Cotton Ball Frost Patch
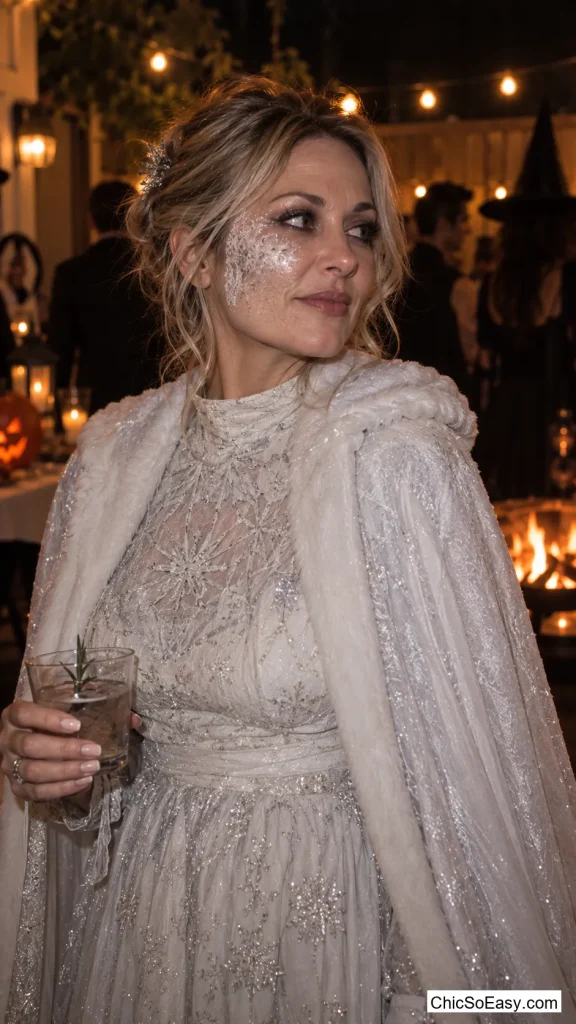
Stretch a cotton ball out slightly to expose its fibers, dab white cream shadow onto it, and pat it against one cheekbone in a loose, irregular patch rather than a clean shape.
The torn fiber texture reads as frost or ice creeping across the skin in a way that a brush can’t easily fake — the imperfection is the whole effect.
One patch is enough; covering more of the face with it starts to look like the cotton ball itself rather than frost.
18. Gift Card Straight-Edge Line
Hold the edge of an old gift card or hotel key card flat against the face at an angle, then run a cream shadow or liquid liner right along its edge to get a perfectly crisp diagonal line no hand can draw freehand.
It solves the one thing beginners struggle with most in graphic makeup — a straight line — by outsourcing it to a straight object instead of a steady hand.
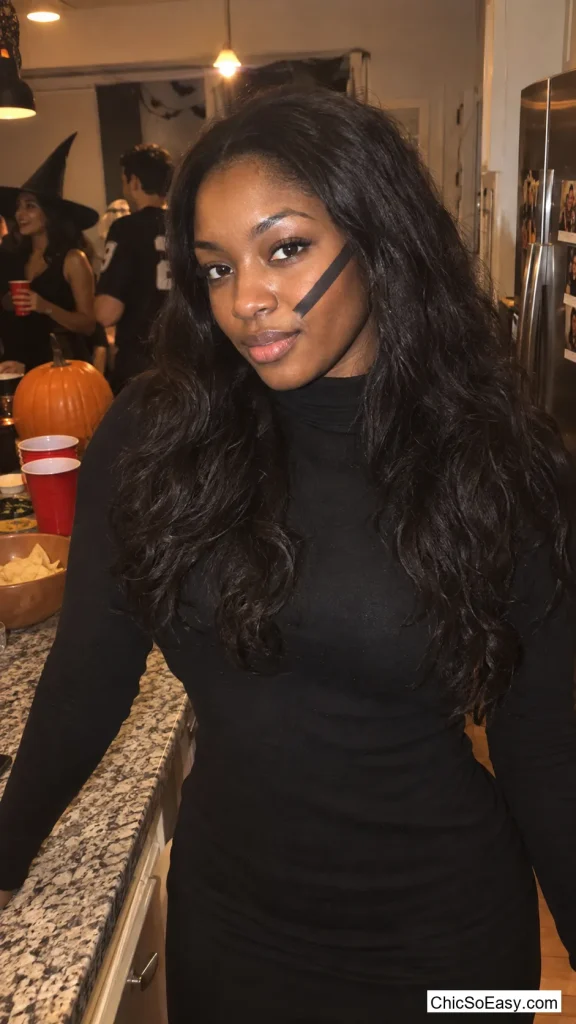
19. Painter’s Tape Diagonal Stencil
Place a strip of painter’s tape diagonally across half the face, sponge a bold color — black, silver, or a bright shade — over the exposed skin on one side, then peel the tape away to reveal a crisp split.
Painter’s tape is low-tack enough to lift off skin without pulling on brows or lashes, which regular tape isn’t always safe to do.
Press the tape down firmly along its edge before applying color, or the shadow bleeds slightly underneath and softens the line that’s the whole point of the look.
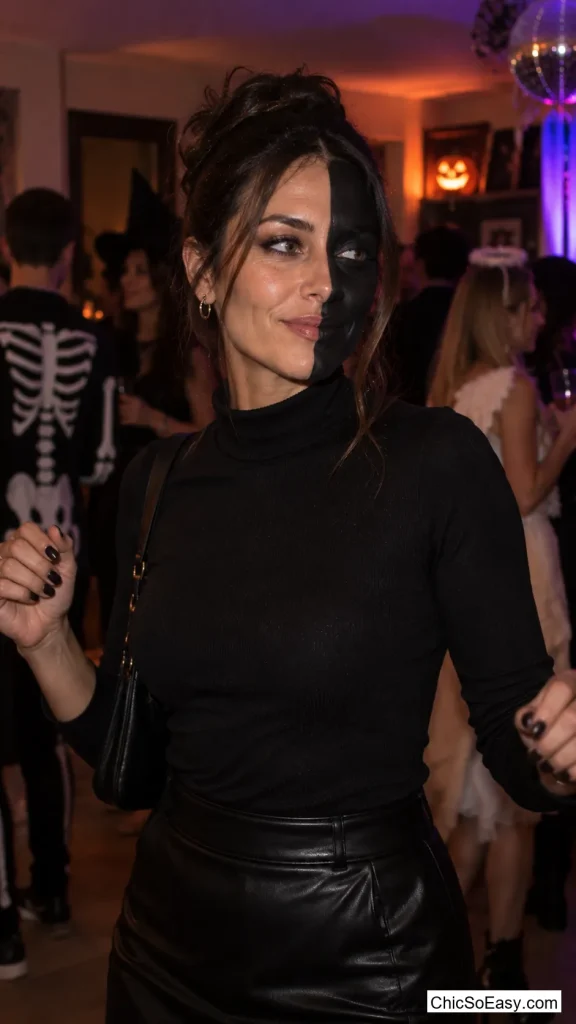
Two-Tone and Split-Face Looks
These three play with asymmetry — one side different from the other — which reads as more deliberate than a full symmetrical face and takes less time to execute.
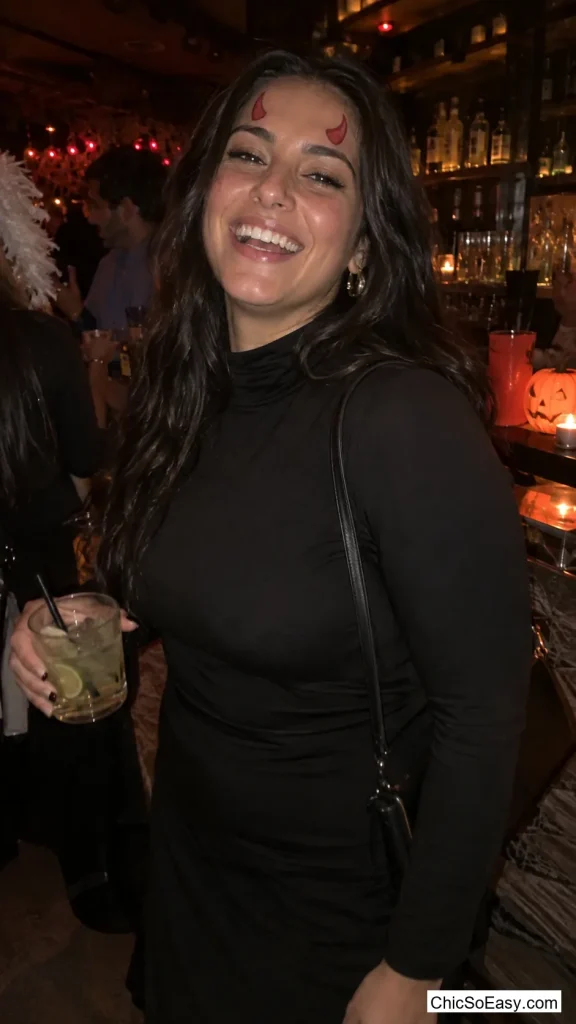
20. Eyelash Curler Devil Horns
Coat the curved metal edge of an eyelash curler with a swipe of red lipstick, then press it onto the forehead just above one brow to stamp a clean curved horn shape, repeating on the other side.
The curler does the shaping that would otherwise take a steady liner hand, so both horns come out matching even on a first try.
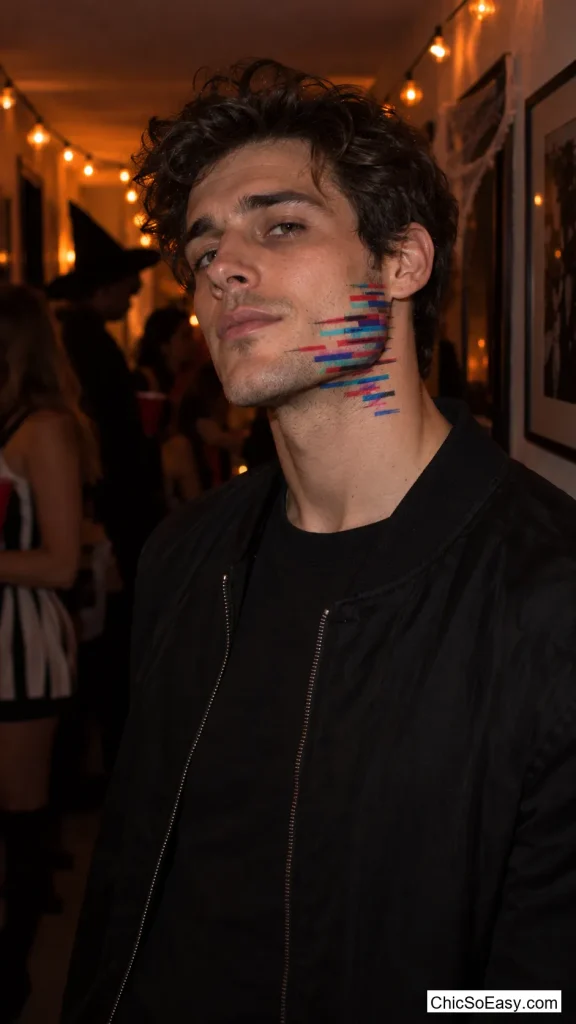
21. Static Glitch Jaw Lines
Along the jawline, draw two or three short offset horizontal lines in a bright color, each one shifted slightly left or right of the one above it, the way a glitching video signal looks.
It’s a handful of straight-ish lines rather than any blending or shading, so it comes together fast and still reads as a distinct, current concept rather than a standard face design.
22. A Second Faint Eyebrow
With a brow pencil in a shade close to the natural hair color, draw a second, thinner brow shape about a quarter inch above the real one, then brush it lightly with a spoolie so it looks grown rather than drawn.
It’s an unsettling detail precisely because it’s easy to miss at first glance — the face looks slightly wrong before it’s obvious why.
Keep the second brow thinner and lighter than the real one; two brows of equal weight just look like a mistake instead of an intentional double.
Storybook and Whimsical
Not every Halloween look needs to be scary. These four lean sweet and a little strange instead, and work just as well for a daytime event as a nighttime party.
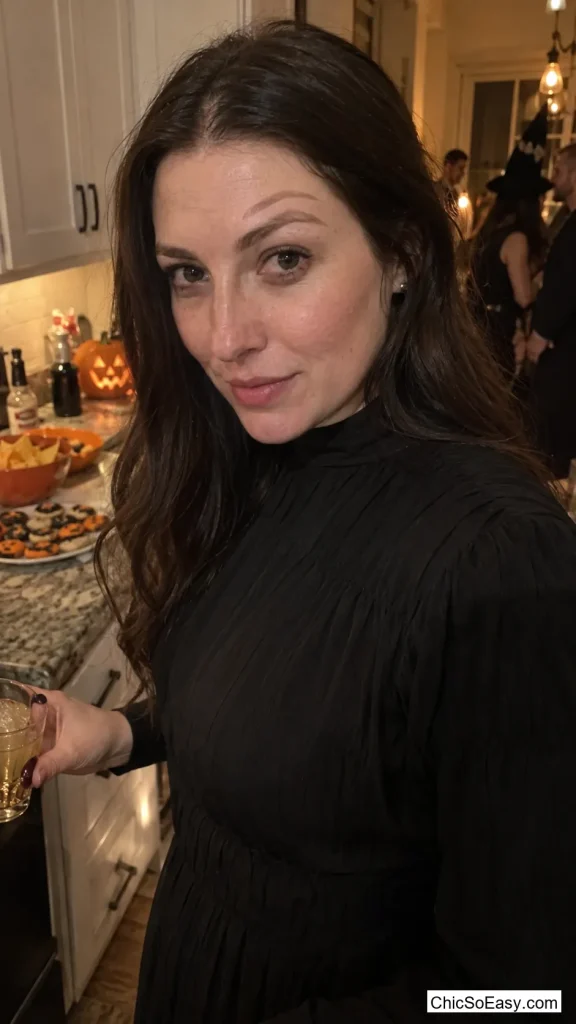
23. Connect-the-Dots Nose Freckles
Dot a rust or brown eyeliner pencil across the bridge of the nose and upper cheeks in a loose scatter, then connect a handful of the dots with fine curved lines, like a constellation chart drawn on skin.
It reads as whimsical rather than costume-heavy, so it works with a plain outfit and doesn’t need a wig or accessories to make sense.
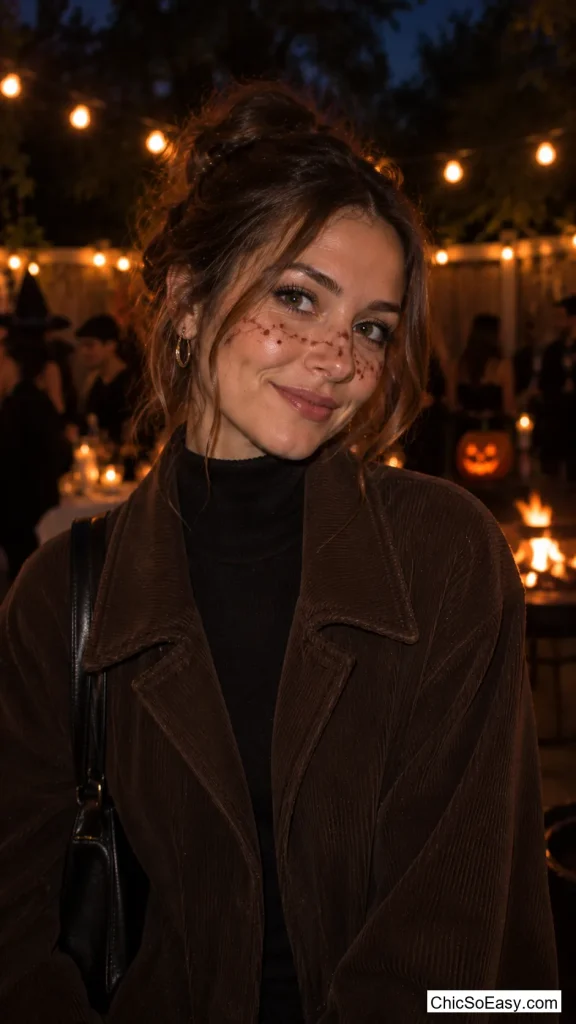
24. Botanical Vine Temple to Cheek
Using a fine liner brush and dark green cream liner, draw a single thin curved line from the temple down toward the cheekbone, then add small leaf shapes branching off it every half inch or so.
One continuous vine reads clearly from a distance in a way a cluster of separate flowers doesn’t, and a tiny dot of red at the tip for a berry gives the eye somewhere to land without adding another shape to draw.
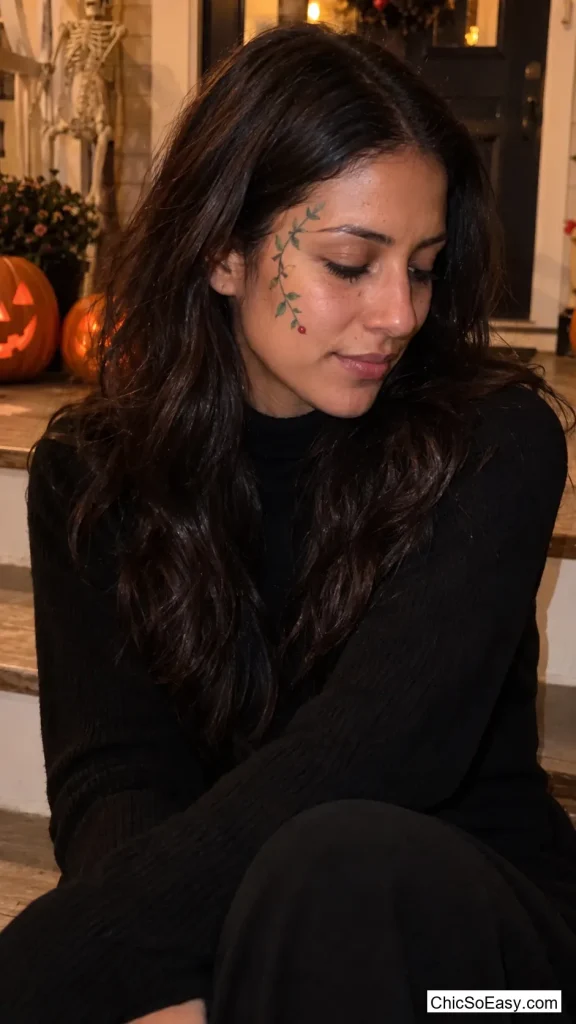
25. Frosted White Temple Dots
Using a white eyeliner pencil, dot a loose trail from the temple down along the hairline, making the dots smaller and further apart as the trail continues, like frost fading out.
It’s a single tool, a few seconds of dotting, and no blending at all — the fade comes from spacing the dots differently, not from softening any edges.
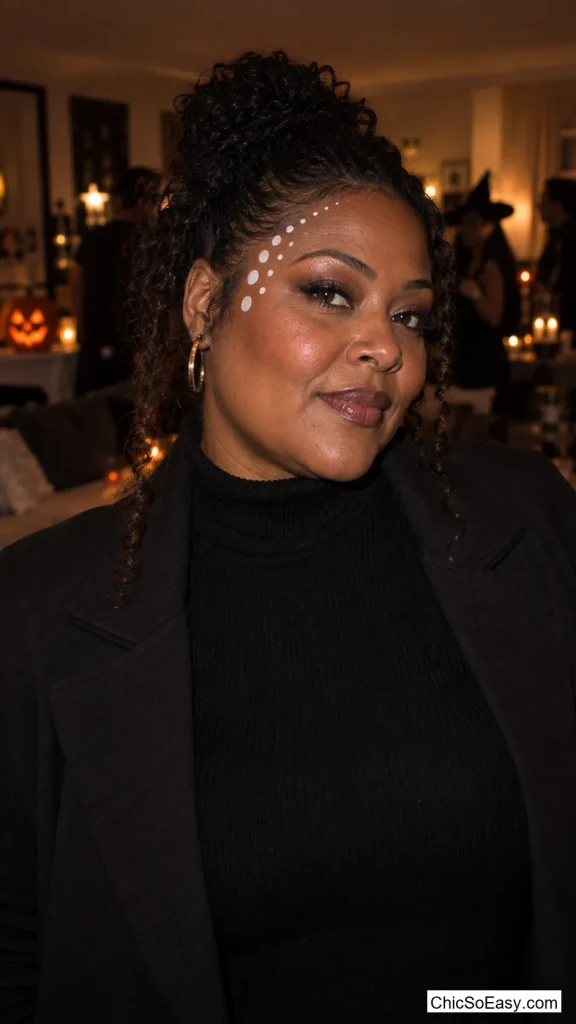
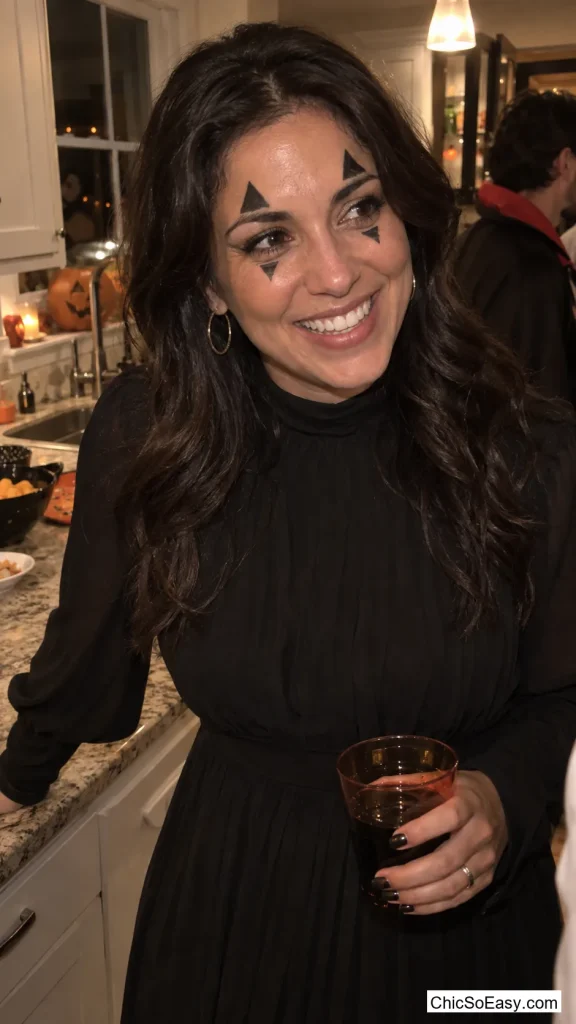
26. Mascara Mime Triangles
Using the wand of a regular mascara, wiggle out a triangle shape above each brow and below each bottom lash line, then dot a small triangle underneath the lower ones with the tip of the wand.
It uses a product that’s already in most makeup bags for something other than lashes, so there’s nothing new to buy and nothing to practice beyond a few trial triangles on the back of a hand first.
Texture and Dimension for First-Timers
These last three build in shading and texture without needing prosthetics or liquid latex — just eyeshadow, a spoolie, and a little patience with blending.
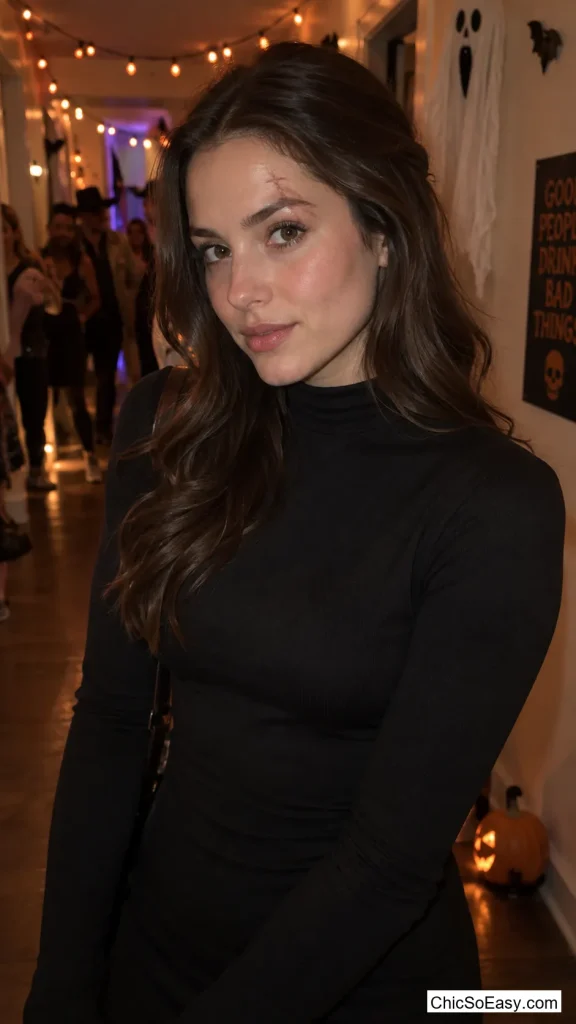
27. A Scar Blended With a Spoolie
Draw one thin line with a dark brown or gray eyeshadow along the brow or cheek where a scar would sit, then immediately run a clean spoolie brush along both sides of the line to soften it into the skin.
The spoolie is what keeps it from looking like a drawn line — it drags a little of the color outward on both edges, which is what a healed scar actually does to the skin around it.
Add one small highlight dot of pale shimmer right in the center of the line; real scar tissue catches light slightly differently than the skin around it, and that one dot sells the texture.
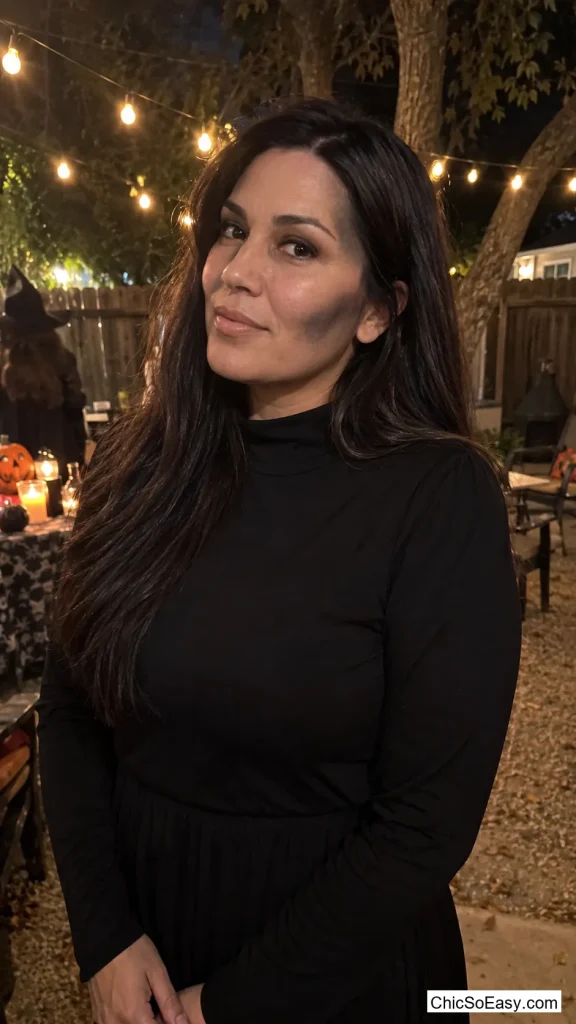
28. Skeleton-Lite Cheekbone Shading
Instead of a full skull face, shade a dark gray or black eyeshadow directly under the cheekbones and at the temples, in the same places regular contour would go, and leave the rest of the face bare.
It borrows the technique from everyday contouring, so anyone who already does cheek contour for normal makeup already knows how to place it — the only difference is the color and how far it’s pushed.
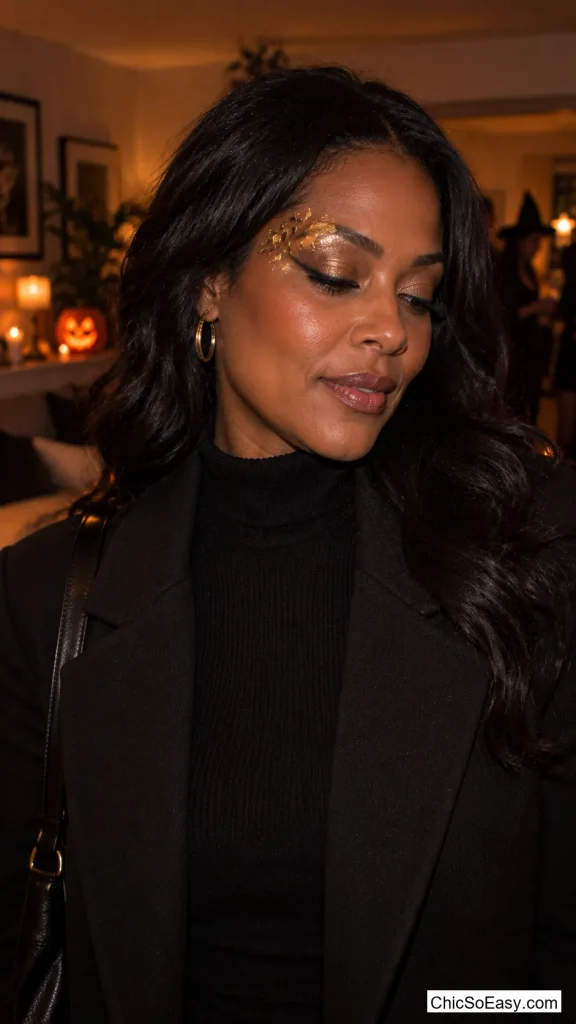
29. Gold Leaf Brow Bone Accent
Press a small piece of cosmetic gold leaf onto a damp brush, then dab it directly onto the browbone or the outer corner of the eye over a bit of cream shadow or petroleum jelly to help it stick.
A little goes further than it looks like it will — one or two small pieces catch the light and read clearly in photos without needing to cover the whole lid.
Cosmetic gold leaf sold for baking or nail art works fine for this; it doesn’t need to be a specialty makeup product.
Final thoughts
None of these need a kit built for special effects — a liner pencil, a cream shadow, and a couple of things borrowed from a kitchen drawer cover almost everything on this list.
Pick two or three to actually try before the night itself. A five-minute test run on the back of a hand or a corner of the mirror is enough to know if a technique clicks, and it means the first real attempt isn’t also the only attempt.